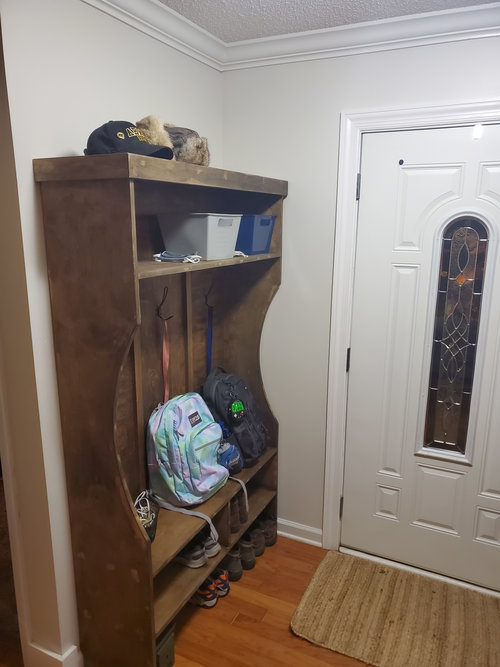
This is my first year with kids, and school presented a number of storage problems with our little hideout. The solution seemed to be this entryway locker system (that's what I'm calling it anyway) where they could store their backpacks, shoes, coats, etc.
Normally I strive to use all hand cut joinery using solid wood, but this for this project I went with plywood, fasteners, and power tools because we needed it quickly.
Construction was done with just a few dados on the table saw.
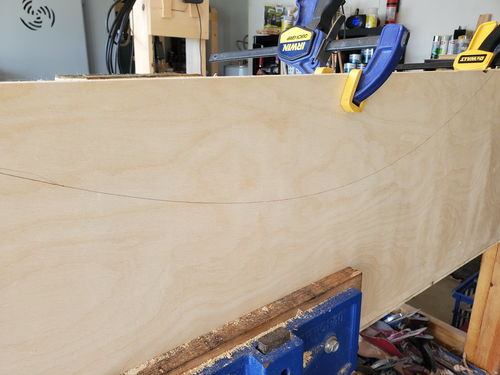
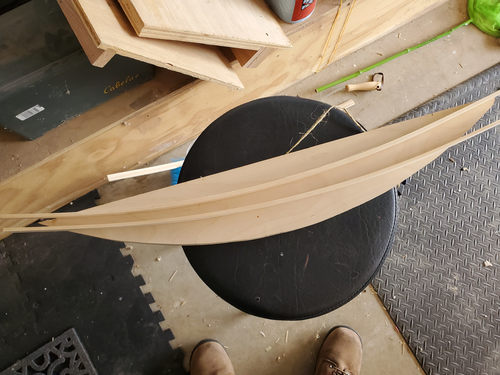
The sides feature a semi-circle cutout for decoration, and to allow visibility around the corner. I started this by marking the cut using a bow I rigged up, then roughing it out with a jigsaw.
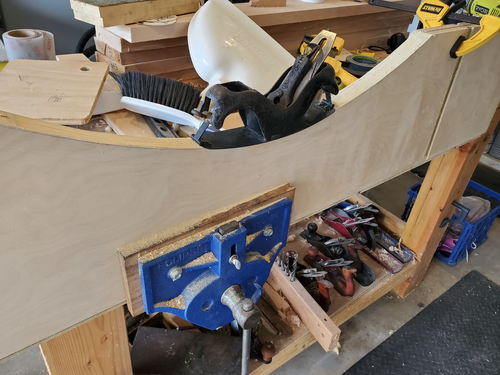
The cut was refined with a No. 13 circular plane.
I used the offcut as a form to pre-bend the trim. I'm not allowed to use the oven for this, so I just wrapped some twine around the trim and the form, then left it in the attic for several days. It wasn't a perfect fit, but it worked fairly well.
The trim of course was employed to conceal the edges of the plywood

This is actually one of my larger projects, and maneuvering it about the shop proved to be quite difficult. I ended up screwing in a couple of cross braces on the back to prevent racking.
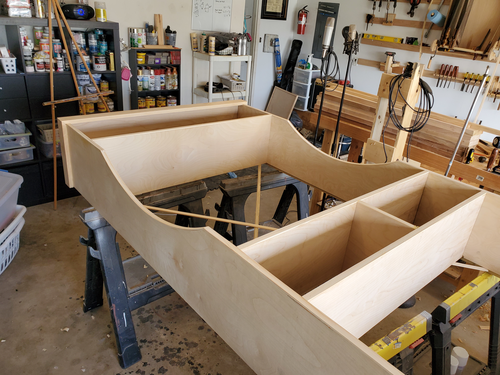
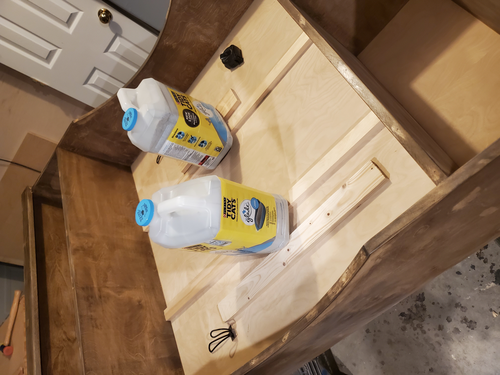
The back was stained separately from the main body. I added some decorative vertical dividers in the main section; kitty litter was the only practical clamping method available.